
 12428
12428
This article will go through the process of sending out an email campaign, ubt does not include editing your email inside the email editor.
1. Log into your MyGuestlist account
2. Click on the Email tab

3. Click on Send a Campaign

4. Enter a name for your campaign (Only you can see the name), click Next

5. Enter a Subject for your campaign, click Next
[Subjects are one of the most important things about your campaign. We recommend you choose something attention grabbing, cheeky, or anything else that will make your contacts want to open your e-mail.]

From = Your venue name. You can change this to whatever you want but we recommend keeping it relevant to your venue.
Email Address = The email address for your account. Any replied made to this email will go directly to the email address that's set on your account.
You can change this to any email address you like.
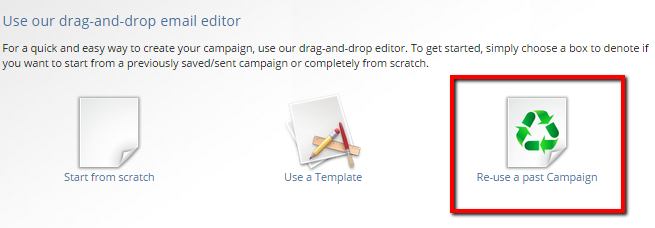
6. Choose your email option (See below for details)

If it's your first time, use Start From Scratch.

If you've created your email though Manage Campaign Templates, use Use a Template.

If you're wanting to re-use a previous email you've sent sent out, select 'Re-use a past Campaign'
7. Click on Open Editor

8. If you have your social profiles set up, you can automatically place your campaign onto Facebook and Twitter by clicking 'Setup Social Broadcast' and following the instructions.

9. Click next when you have finished creating your email.
10. Select the people you would like to send to:
- To send to everyone, click Send to Everyone
- To sent to a particular category, click on the box and select one or multiple categories.
- To send to particular people, Click on the Advanced tab and enter the details of the people you would like to send the email to.


Your email hasn't been sent yet!
14. The very last screen you have is the confirmation screen.
Make sure you check the Subject line is correct, and the number of people who should be receiving this email.

Once you click 'Send this campaign now', it's all done!
You can view statistics on your campaign by going to 'Sent Items'

