 6192
6192
You can create a reservation by doing the following:
1. Log into your MyGuestlist account
2. Click on the Guestlist tab

3. In the top right corner of the Guestlists tab, click on Reservations

4. Click on Create a New Reservation

5. Fill in the reservation information into the boxes provided. Only Name, Date and time are required fields.

You will now be taken to the edit reservation screen.
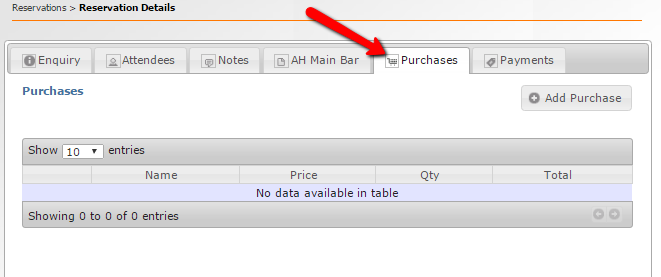
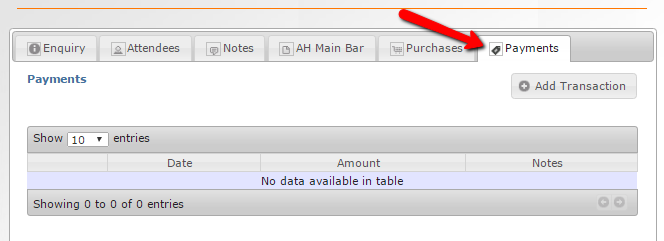
This is where you can set the attendees, make notes, assign tables, add purchases and add transactions.
Enquiry Tab
This tab displays the details of the reservation.
You can change any of these by clicking on the text and editing it.
This is also where you will need to change the booking status (Unconfirmed, Pending, Confirmed). Changing the booking status will allow you access to the greyed out tabs.

Attendees Tab
This tab is where you upload or add the attendees of the reservation.
You can also search the attendees by entering the search information in the top row of your attendees box.

Notes Tab
This tab is where you enter notes about the reservation.

Table Tab
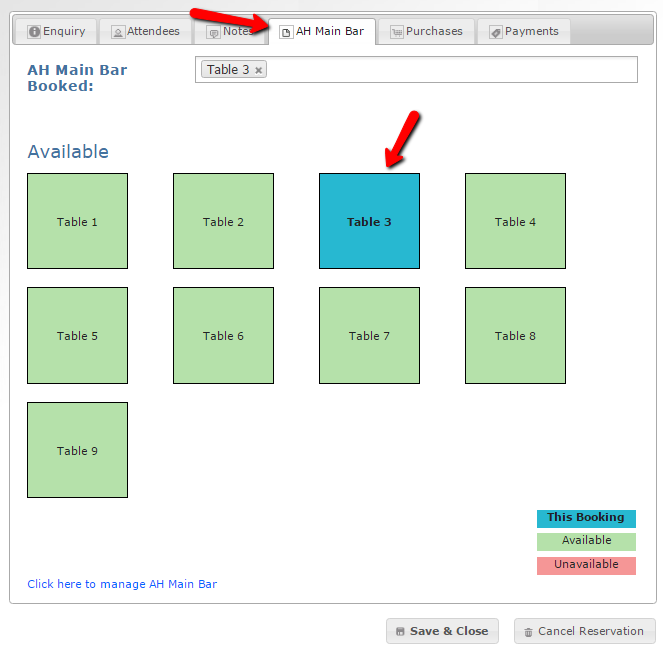
After confirming your reservation, you will have access to the table tab. (It may be under a different name depending on how you set up your reservations)

- All green tables are available at this time slot to reserve
- All red tables are unavailable at this time slot to reserve (You can book multiple reservations on one table, but it's red just to let you know someone is already set to it.)
- All blue tables are booked for this reservation


