
 5098
5098
Getting ready to set up your events for the holidays? Awesome, cause we have the tool to make it easy as cooking a barbie on a smokin' hot day.
Placing this ticketing widget on your site is super simple and easy, as well as a great way to promote multiple events in just minutes!
To create a new Widget, click on the Ticketing tab

Then click on New Widget in the top right corner

Enter a name for your widget and click Create Widget

Select the upcoming events time frame (4 weeks up to a year, or to a date specified)
Select if you want the 'Presented By' field to be shown on the widget
Enter the text to be displayed on the Submit button

To view instructions on how to apply this to a Facebook app, click here.
You will now see your widget displayed like below. Click on Website Code to get the code to place on your website or to give to your web developer.

We recommend you select JavaScript, but if your website cannot support JavaScript then hosted is the choice for you.

To generate a link to all of your events, click on 'Generate/Edit'

Enter a title for your events page, add a header and background image, and change the background colour by clicking on the coloured circle.

To get the link to your events widget, click on 'Get URL/Link' and copy the URL from the pop up.

The event will show a drop down of Sessions if they are multiple available, so make sure you set your session names to something recognisable to the patron.
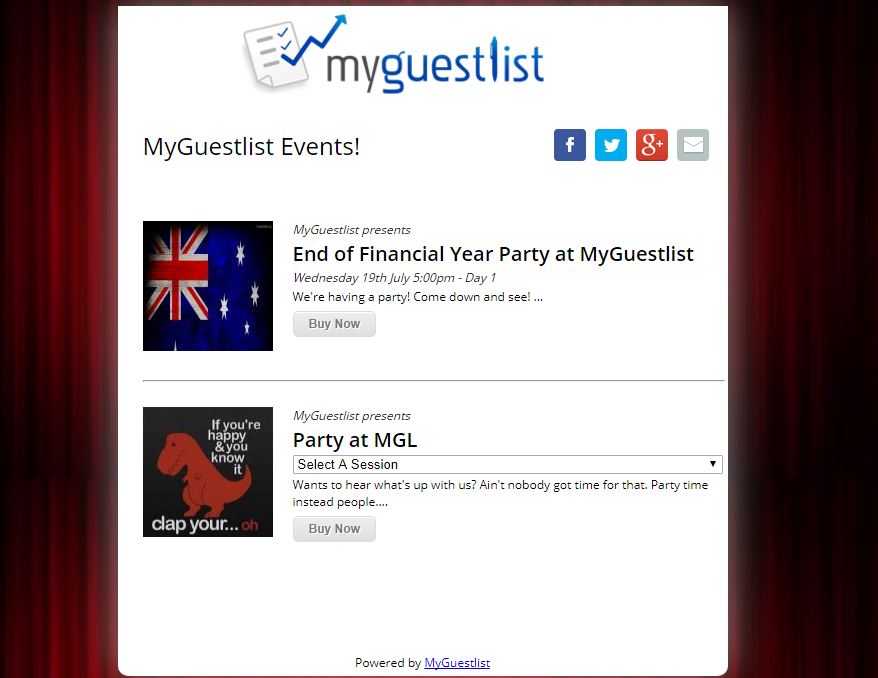
The images next to your event detailed will by default be the first image in your ticketed event. You can change this by going to 'Look and Feel', selecting an image and setting the 'Use as Thumbnail' drop down to 'Yes'.


