1. Log into your MyGuestlist account
2. Click on the Guestlist Tab

3. Click on Website forms located in the Orange menu in the top left of the page
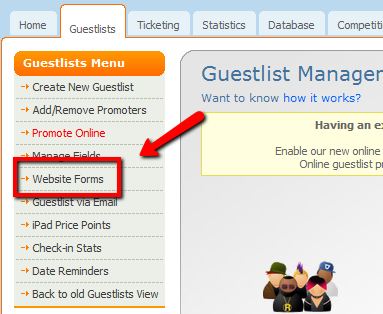
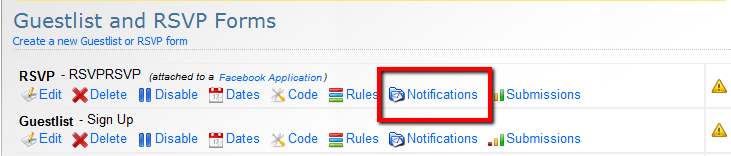
4. Click on Notifications under the form name
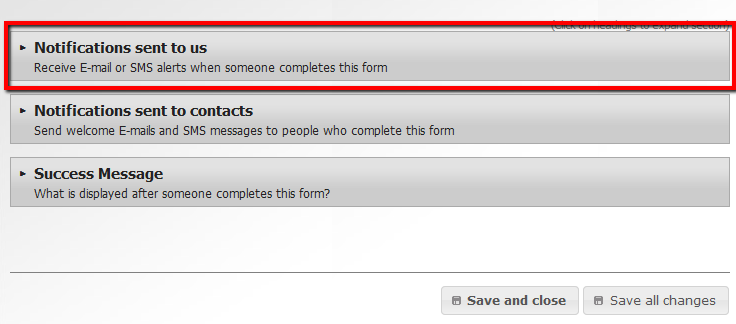
In this section we have:
- E-mail Notifications - Add / Change / Remove an email address to be notified about users who submit this form
- Success Message - Display a message or send to a URL after someone has submitted the form.
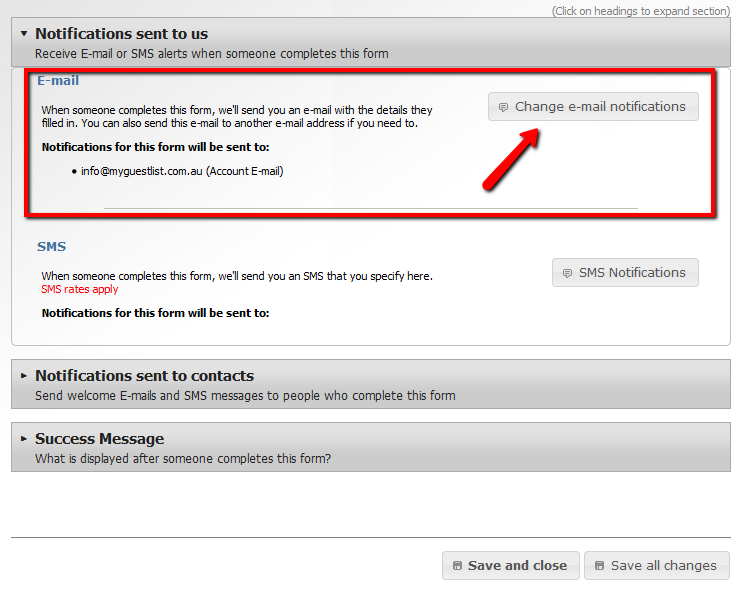
E-mail Notification
|
|
Click on Notifications send to us
Click Change e-mail notifications
Click on Add another e-mail

You can add as many emails as you like. Make sure to click Update when you're done.
Note: The default email added to all notifications is the email in your account details.
To change this, click on Edit details in the GREEN menu to the left of the page.
|
Auto Reply / Welcome Email
|
|
Click on Notifications sent to contacts
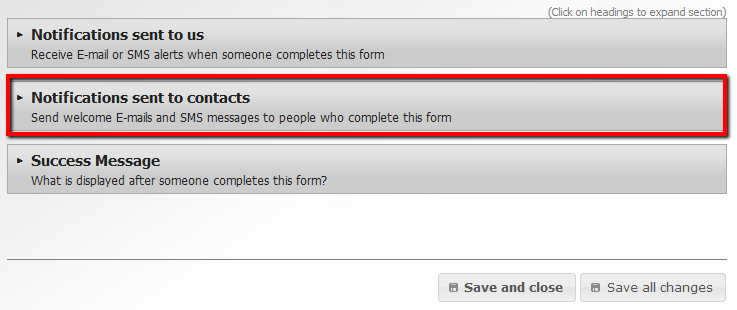
Click on Send E-mail
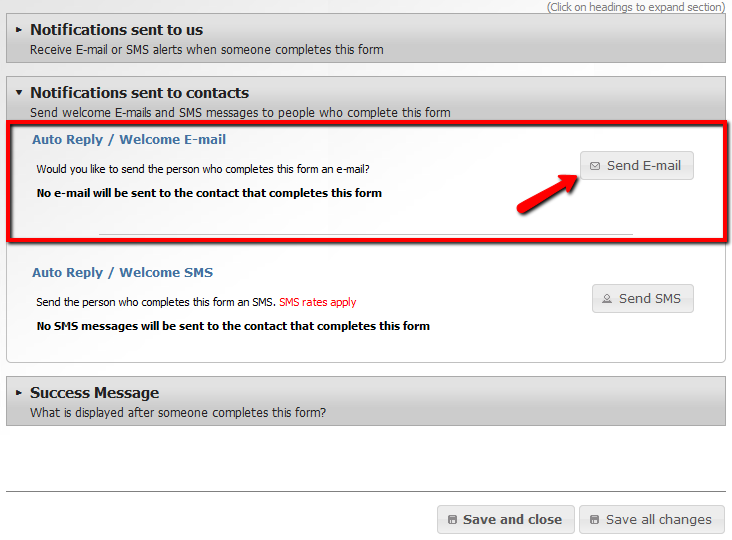
Enter the details for your automated email response:
From Name: your venue name
Reply To E-mail: the email that users can reply to
Email Template: the template that will be sent to your users submit your form
E-mail Subject: Subject of the email that is sent to the user

Click OK to save your changes.
|
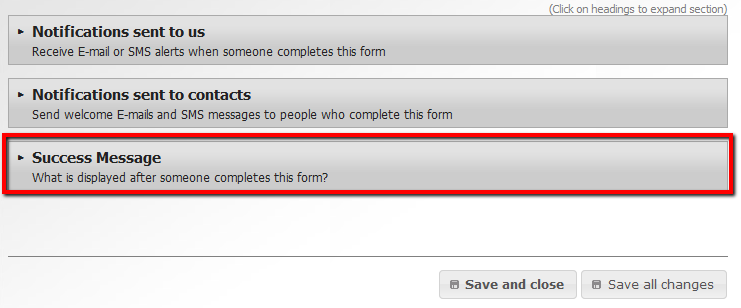
Success Message
|
|
Click on Success Message
Send to URL
1. Click on Sent to URL
2. Enter the URL you would like the user to be redirected too after they have submitted your form
3. Click OK to save

Display Text
1. Click on Display Text
2. Enter the message that you would like to display after the user has submitted the form. NOTE: This box accepts html code for styling.
3. Click OK to save

|

 6882
6882

